
How to deploy OBjEX33 for remote access using COM+ on
Windows 2000 and Windows XP
From the Start menu click Settings > Control
Panel > Administrative Tools > Component Services:
Navigate to, and right-click, COM+
Applications:

Choose New Application; the Application Install Wizard
should appear:
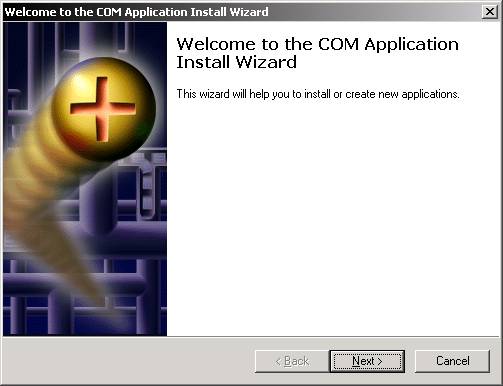
Click Next >

Click Create an empty application
Enter a name for the new application (e.g., jBASE OBjEX)

Click Next > and choose the user that will run
the remote libraries (e.g., Interactive User)
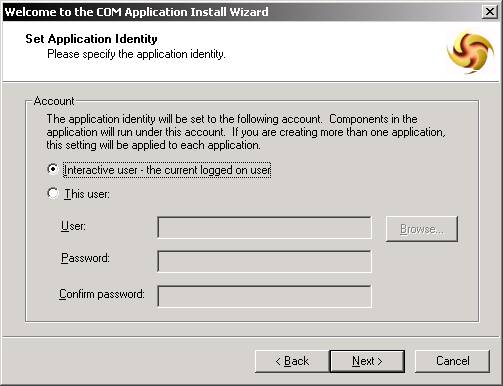
Click Next >

Click Finish
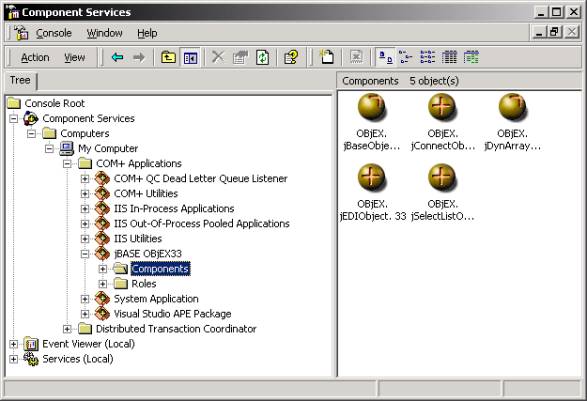
Navigate to, and right-click on the Component folder,
under the new jBASE OBjEX component service:

Well what do you know, another Wizard!
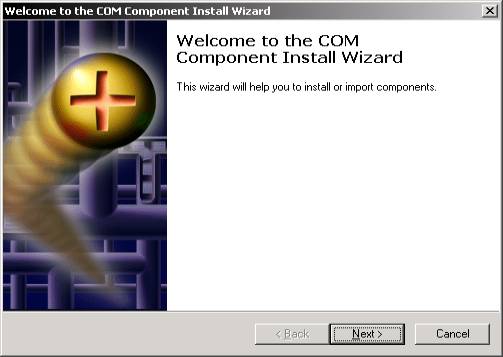
Click Next >
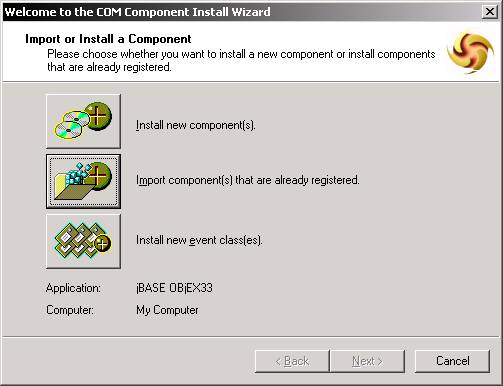
Click Import component(s) that are already registered and
choose the components as illustrated…
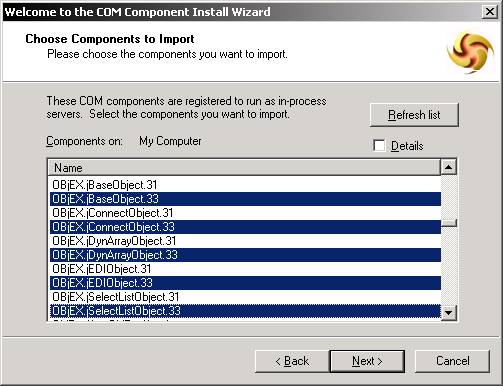
Click Next >

Click Finish.

Now Test it…
On another (or same) machine, run the following VB code:
If you have Objex33.dll installed and registered on the
client machine:
Public jb As jBase
Public jc As jConnection
If you don’t have Objex33.dll
installed and registered on the client machine:
Public jb As Object
Public jc As Object
[Note that we are not using the New keyword as this
will attempt to create a local object.]
Create a remote reference of the object:
Set jb = CreateObject("Objex.jBaseObject", “Remote_Hostname_IP_Address”)
As soon as you create a remote reference, you will see the
small brown balls spinning!
(Sexy isn’t it!)
That’s it! You just have to do the same for all the
Classes you wish to instantiate remotely.
The interface names for CreateObject are:
Objex.jBaseObject
Objex.jConnectObject
Objex.jEDIObject
Objex.jSelectListObject
Objex.jDynArrayObject
See the ‘spinning’ ball(s)…
http://807199.827977/r5/knowledgebase/howto/objex/3.0/HowToCOM+.htm last modified on 06/19/09 05:29 AM